Tuna & Oat Cat Bites: A Healthy Treat Your Cat Will Love!
Introduction to Tuna & Oat Cat Bites
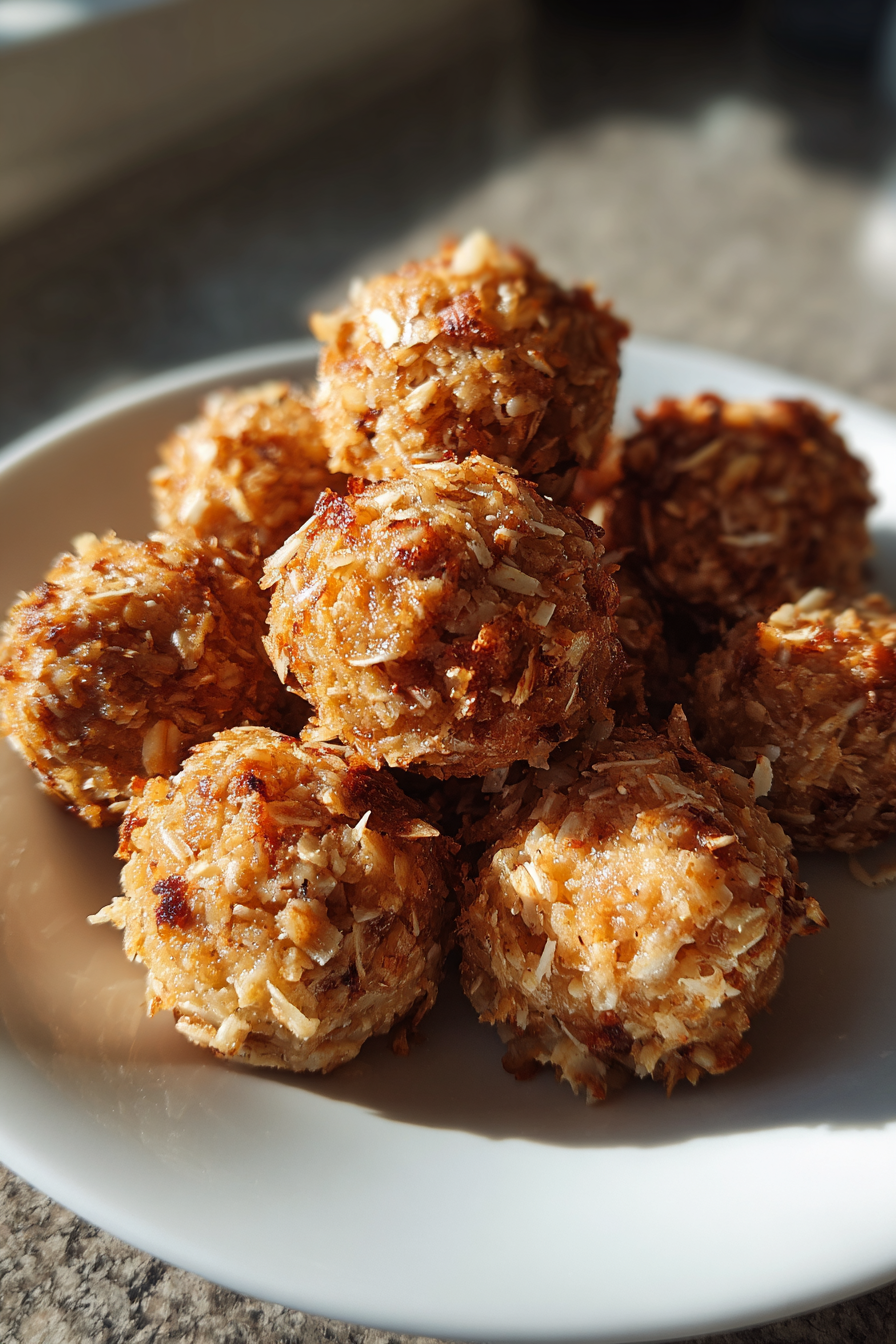
As a devoted cat mom, I know how important it is to keep our furry friends happy and healthy. That’s why I’m excited to share my recipe for Tuna & Oat Cat Bites! These little treats are not only delicious but also packed with nutritious ingredients that your cat will adore. Whether you’re a busy professional or a multitasking mom, this recipe is a quick solution for a busy day. In just 30 minutes, you can whip up a batch of these delightful bites that will have your kitty purring with joy!
Why You’ll Love This Tuna & Oat Cat Bites
These Tuna & Oat Cat Bites are a game-changer for busy pet parents! They’re super easy to make, taking just 30 minutes from start to finish. Plus, your cat will love the taste, making them a perfect reward after a long day. With wholesome ingredients, you can feel good about treating your furry friend. Say goodbye to store-bought snacks filled with mystery ingredients and hello to homemade goodness!
Ingredients for Tuna & Oat Cat Bites
Gathering the right ingredients is the first step to creating these delightful Tuna & Oat Cat Bites. Here’s what you’ll need:
- Tuna in water: This is the star of the show! Packed with protein, it’s a favorite among cats. Make sure to drain it well to avoid excess moisture.
- Rolled oats: A great source of fiber, oats help bind the mixture together. They’re also gluten-free, making them a safe choice for most cats.
- Egg: This ingredient adds protein and helps the bites hold their shape. Plus, it gives a nice texture that your cat will love!
- Olive oil: A splash of healthy fat that keeps the bites moist and adds a bit of richness. It’s also great for your cat’s coat!
- Catnip (optional): If your kitty enjoys catnip, adding it can make these treats even more enticing. It’s a fun way to elevate the flavor and excitement!
For exact measurements, check the bottom of the article where you can find everything listed for easy printing. Happy cooking!
How to Make Tuna & Oat Cat Bites
Step 1: Preheat the Oven
Preheating your oven to 350°F (175°C) is crucial for baking these Tuna & Oat Cat Bites. It ensures even cooking and helps the bites achieve that perfect golden brown color. Trust me, a well-preheated oven makes all the difference in the final texture!
Step 2: Mix the Ingredients
In a mixing bowl, combine the drained tuna, rolled oats, egg, and olive oil. Use a fork or your hands to mix everything together until well combined. Make sure there are no dry oats left. The mixture should be sticky but hold together nicely. This is where the magic begins!
Step 3: Add Catnip (Optional)
If your cat enjoys catnip, now’s the time to sprinkle it in! Catnip can enhance the flavor and make these treats even more irresistible. Just a tablespoon will do. Mix it in gently, ensuring it’s evenly distributed throughout the mixture.
Step 4: Shape the Bites
Now, it’s time to form the mixture into bite-sized pieces. I like to use my hands to roll small balls, about the size of a marble. You can also use a spoon to scoop and shape them. Just make sure they’re uniform in size for even baking!
Step 5: Bake the Bites
Place the shaped bites on a baking sheet lined with parchment paper. Bake them in your preheated oven for 15-20 minutes. Keep an eye on them! They’re done when they turn golden brown and firm to the touch. Your kitchen will smell amazing during this time!
Step 6: Cool and Serve
Once baked, let the Tuna & Oat Cat Bites cool completely before serving them to your furry friend. This step is important to avoid any burns. Store any leftovers in an airtight container in the fridge for up to a week. Your kitty will thank you!
Tips for Success
- Use fresh tuna for the best flavor and nutrition.
- Don’t skip the preheating step; it’s key for even baking.
- Experiment with different shapes—try using cookie cutters for fun designs!
- Keep an eye on the baking time; ovens can vary.
- Store treats in an airtight container to maintain freshness.
Equipment Needed
- Mixing bowl: A medium-sized bowl works best. You can also use a large plate if you’re in a pinch.
- Fork or spoon: For mixing the ingredients. Your hands work too, just be prepared for a little mess!
- Baking sheet: A standard baking sheet is perfect. Line it with parchment paper for easy cleanup.
- Oven: A conventional oven is ideal, but a toaster oven can work for smaller batches.
Variations of Tuna & Oat Cat Bites
- Salmon Substitute: Swap out tuna for canned salmon for a different flavor. Cats often love salmon just as much!
- Vegetable Add-ins: Consider adding finely chopped carrots or peas for extra nutrients. Just make sure they’re safe for your cat!
- Cheese Lover’s Delight: Mix in a small amount of shredded cheese for a creamy twist. Just be cautious with the quantity, as some cats are lactose intolerant.
- Grain-Free Option: Use ground almond flour instead of oats for a grain-free version. This is great for cats with sensitivities!
- Herb Infusion: Try adding a pinch of parsley or basil for a fresh flavor. These herbs can also be beneficial for your cat’s digestion.
Serving Suggestions for Tuna & Oat Cat Bites
- Serve these treats as a special reward after playtime or grooming sessions.
- Pair with a small bowl of fresh water to keep your kitty hydrated.
- For a fun presentation, arrange the bites on a colorful plate or in a cute pet dish.
- Consider adding a sprinkle of catnip on top for extra excitement!
FAQs about Tuna & Oat Cat Bites
Can I use fresh tuna instead of canned?
Absolutely! Fresh tuna can be a great alternative. Just make sure to cook it thoroughly and let it cool before mixing it into the recipe. Your cat will love the fresh flavor!
How long do these treats last?
These Tuna & Oat Cat Bites can be stored in an airtight container in the refrigerator for up to a week. If you want to keep them longer, consider freezing them. Just thaw before serving!
Can I make these treats for a dog?
While this recipe is designed for cats, dogs can enjoy similar treats! Just ensure that all ingredients are safe for dogs, and adjust the recipe as needed. Always check with your vet if you’re unsure.
What if my cat doesn’t like tuna?
No worries! You can easily substitute the tuna with canned salmon or even chicken. Just make sure to choose a protein that your cat enjoys. The key is to keep it tasty!
Are these treats suitable for all cats?
Most cats can enjoy these Tuna & Oat Cat Bites, but if your cat has specific dietary restrictions or allergies, consult your vet first. Always introduce new treats gradually to avoid any tummy troubles!
Final Thoughts
Creating these Tuna & Oat Cat Bites has been a delightful journey for me, and I hope it brings joy to you and your furry friend as well. Watching my cat’s eyes light up with excitement when I present these homemade treats is priceless. Not only do they love the taste, but I also feel good knowing I’m giving them something healthy. With just a few simple ingredients and a little time, you can whip up a batch that will have your kitty purring with delight. Happy baking, and may your kitchen be filled with love and laughter!
Print
Tuna & Oat Cat Bites: A Healthy Treat Your Cat Will Love!
- Prep Time: 10 minutes
- Cook Time: 20 minutes
- Total Time: 30 minutes
- Yield: Approximately 20 cat bites 1x
- Category: Treats
- Method: Baking
- Cuisine: Pet Food
- Diet: Gluten Free
Description
Tuna & Oat Cat Bites are a healthy and delicious treat for your feline friend, made with nutritious ingredients that your cat will love.
Ingredients
- 1 can of tuna in water, drained
- 1 cup rolled oats
- 1 egg
- 1 tablespoon olive oil
- 1/4 cup catnip (optional)
Instructions
- Preheat your oven to 350°F (175°C).
- In a mixing bowl, combine the drained tuna, rolled oats, egg, and olive oil.
- If using, add catnip to the mixture and stir until well combined.
- Form small bite-sized balls or shapes from the mixture and place them on a baking sheet lined with parchment paper.
- Bake in the preheated oven for 15-20 minutes or until golden brown.
- Allow to cool completely before serving to your cat.
Notes
- Store any leftovers in an airtight container in the refrigerator for up to a week.
- These treats can be frozen for longer storage.
- Always supervise your cat while they enjoy their treats.
Nutrition
- Serving Size: 1 bite
- Calories: 30
- Sugar: 0g
- Sodium: 10mg
- Fat: 1g
- Saturated Fat: 0g
- Unsaturated Fat: 0.5g
- Trans Fat: 0g
- Carbohydrates: 3g
- Fiber: 0.5g
- Protein: 3g
- Cholesterol: 15mg